When rendering videos using Blender, the Blender engines, such as Cycles and Eevee, handle the computation of lighting, shading, and textures to create realistic visuals by simulating how light interacts with surfaces, considering factors like reflection, refraction, and shadows. Cycles, for instance, uses ray tracing to achieve high levels of realism by accurately modeling the behavior of light.
During the rendering process, the rendering engine converts 3D models into 2D images or animations, which can be time-consuming when dealing with complex scenes. The time required depends on various factors, such as the complexity of the models, the number of light sources, the resolution of the textures, and the rendering settings (e.g., ray tracing quality).
When striving for photorealistic results with advanced effects, the demand for computational power increases significantly, particularly with advanced effects like global illumination and subsurface scattering.
GPU rendering in Blender can drastically reduce render times compared to CPU rendering, especially for complex scenes and high-resolution outputs. As stated previously, using high-performance GPUs like the NVIDIA A5000 on platforms such as CUDO Compute can significantly speed up rendering times because GPUs are designed to handle parallel processing tasks efficiently, making them ideal for rendering.
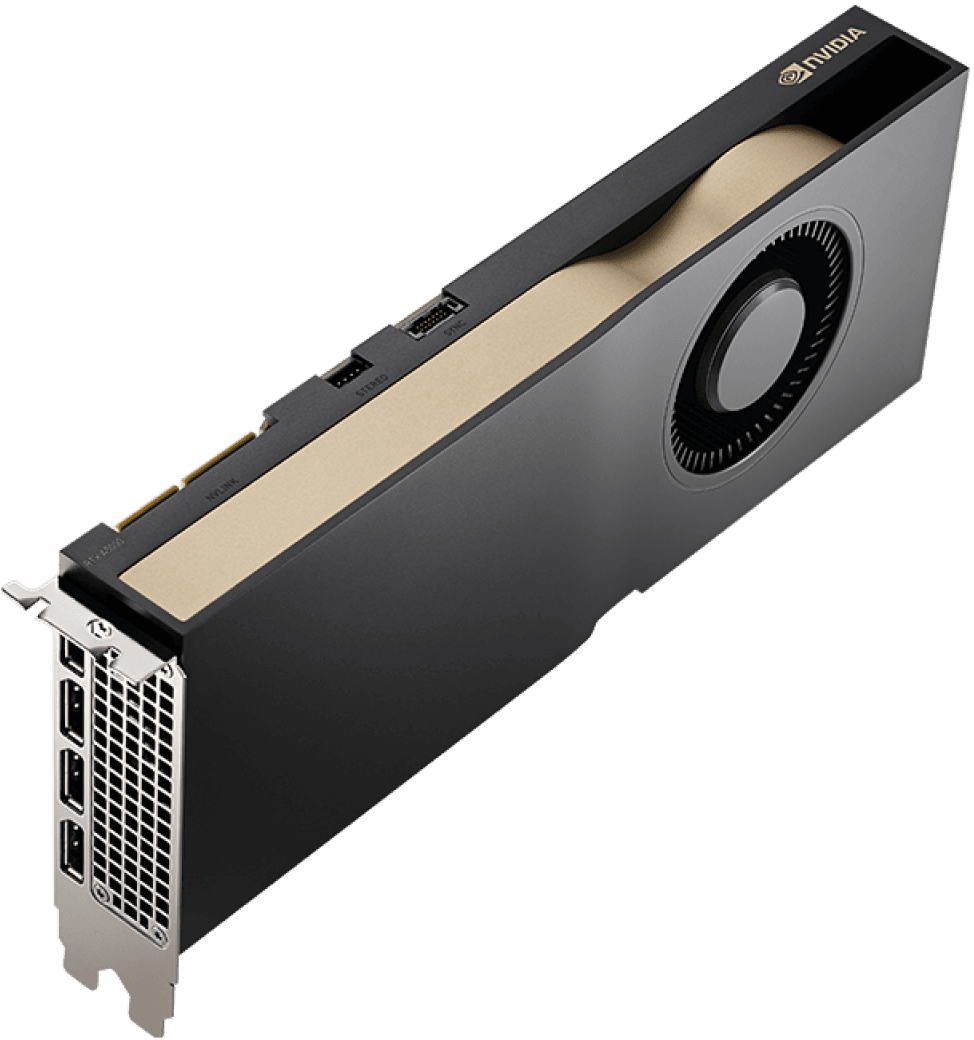
Click here to learn more about the NVIDIA A5000.
This guide will walk you through optimizing Blender rendering using the NVIDIA A5000 GPU on CUDO Compute, ensuring efficient and cost-effective rendering workflows. First, let’s discuss the virtual machine requirements.
VM specification for rendering
When considering the exact specifications for rendering your videos in the cloud, you must remember your project's size. Here are some general rules:
CPU:
- Minimum: A quad-core CPU with SSE2 support is generally the bare minimum.
- Recommended: A high-clock-speed CPU with 8 cores or more is recommended for smoother and faster rendering, especially for complex scenes.
- Consideration: Cloud providers often offer different CPU options, so choose one that balances performance and cost.
RAM:
- Minimum: 8 GB of RAM is required, but more is needed for complex projects.
- Recommended: 16 GB or more is recommended for smoother rendering and to avoid memory-related issues.
- Consideration: Rendering large scenes or high-resolution videos can consume a lot of memory, so choose a VM with enough RAM to accommodate your needs.
GPU:
- Minimum: A dedicated GPU with at least 2 GB of VRAM and OpenGL 3.3 support is essential for GPU rendering.
- Recommended: A powerful GPU with 8 GB or more VRAM is recommended for faster rendering and handling of complex scenes.
- Consideration: Cloud providers offer various GPU options, including NVIDIA RTX series or equivalent. Choose a GPU that matches your performance requirements and budget.
Storage:
- Minimum: Ensure you have enough storage space to accommodate your Blender project files, textures, and the rendered output.
- Recommended: Consider using high-performance storage options like NVMe SSDs for faster file transfers and rendering.
- Consideration: Cloud providers offer different storage options with varying performance and cost.
Additional factors:
- Network bandwidth: High-speed internet connectivity is crucial for quickly transferring files to and from the cloud VM.
- Software configuration: Ensure Blender and any required add-ons are correctly installed and configured on the VM.
Remember, these are just general recommendations. The optimal VM configuration will vary depending on your specific project requirements.
In this guide, we will be using the following configuration for a small project:

- GPU (1x RTX A5000): NVIDIA RTX A5000 is designed for professional workloads, including 3D rendering. It has ample VRAM (24GB) for handling complex scenes and textures.
- CPU (2 vCPUs with host passthrough): Host passthrough allows Blender to access the underlying hardware directly, maximizing performance.
- Memory (8 GB): This is sufficient for many Blender projects, but you might need more for larger, more complex scenes.
- Storage (50 GB boot disk): This is enough to store the Blender project files, textures, and rendered output.
Our configuration is a good starting point for Blender rendering. However, monitor your CPU and memory usage while rendering, as they may become bottlenecks for larger projects. If you encounter performance issues, consider upgrading to a VM with more CPU cores or RAM.
Click here to learn how to create a VM on CUDO Compute and SSH into it. This guide will discuss two ways to render your project on CUDO Compute.
Download Blender in your VM
The first step to getting started after you log in to your VM is to update and upgrade it.
sudo apt update && sudo apt upgrade -y
This will take a moment to run.

Next, we will install the latest Blender version.
sudo snap install blender --classic

You can check the Blender version by running:
blender --version

Next, create a file called gpus.py and run it. The file will detect available GPUs and can be used to debug any GPU issues.
import bpy
def enable_gpus(device_type, use_cpus=False):
preferences = bpy.context.preferences
cycles_preferences = preferences.addons["cycles"].preferences
cycles_preferences.refresh_devices()
devices = cycles_preferences.devices
if not devices:
raise RuntimeError("Unsupported device type")
activated_gpus = []
for device in devices:
if device.type == "CPU":
device.use = use_cpus
print('activated cpu', device.name)
else:
device.use = True
activated_gpus.append(device.name)
print('activated gpu', device.name)
cycles_preferences.compute_device_type = device_type
bpy.context.scene.cycles.device = "GPU"
return activated_gpus
enable_gpus("CUDA", True)
The script primarily configures Blender to use your available GPUs for rendering tasks while optionally allowing CPU usage. It specifically targets CUDA-enabled GPUs, which are often found in NVIDIA graphics cards like the A5000.
We will run this script using Blender.
blender -b --python gpus.py --debug-cycles --debug-gpu
blender launches Blender, and the -b flag tells Blender to run in background mode, allowing Blender to run without the graphical user interface (GUI) but will still execute commands. --python gpus.py instructs Blender to execute the Python script "gpus.py".
The --debug-cycles flag enables Blender's Cycles rendering engine's debugging mode. It will provide extra output in the console to help diagnose issues or better understand the rendering process. Finally, the --debug-gpu flag enables debugging specifically related to GPUs. It might output information about GPU devices, usage, or potential problems.

Next, we will download a project file to see how it works.
Download and render a project.
Blender provides some demo projects that can be downloaded and rendered. We will use this one to test our rendering.
First, we will use the wget, a free and open-source command-line utility for downloading files from the internet, to download the demo.
wget https://download.blender.org/demo/test/BMW27_2.blend.zip

Next, we need to install the unzip tool to unzip the file.
apt install unzip

Next, we unzip the file
unzip BMW27_2.blend.zip

Next, we can now render. To do that, we will use this command.
blender --python gpus.py -b -noaudio -y ~/bmw27/bmw27_gpu.blend -o ~/bmw27-GPU-####.png -f 1 -- --cycles-device CUDA+CPU
The command will render only the first frame. Frames are individual images that, when played in sequence, create the animation. Each frame represents a single moment in time. The number of frames in a project determines the length and fluidity of the animation. For instance, a 10-second animation at 24 frames per second (fps) will have 240 frames.
We render only the first frame to see if the rendering engine works and how long it takes to render a frame.

Using this current VM configuration, the process takes around 28 seconds. When the frame is done rendering, you will see the time spent and the time saved, along with the output file location.

You can use secure copy (SCP) to copy the output file and view it on your local computer. To see how, click here.

Next, you can render the entire project with this command. Depending on many factors, including the sample size, this might take time to run.
blender --python gpus.py -b -noaudio -y ~/bmw27/bmw27_gpu.blend -o ~/bmw27-GPU-####.png -a -- --cycles-device CUDA+CPU
The sample size, which is the number of samples per pixel used in the rendering process, determines the time it takes to render each frame. Samples also determine the quality of the rendered image, particularly how noise and light are calculated.

A higher sample size generally results in better-quality images with less noise, but it also increases the rendering time.

When this is done running, you can copy the images and finish the animation process.

If you are not downloading a demo like we have done, you will need to get your project into the VM via SCP. Here's how.
Copying project to VM
After creating your blender project in the .blend format, you must copy it to the VM using the SCP command. You might also need to copy other things, like the font file you used, if necessary.
To do this, navigate to the folder that contains your project and open the terminal. To copy the file, use this command:
scp [source_file_path] username@hostname:[destination_path]
That could look like this:
scp User/Blender/projects/model.blend root@100.1.1.1:home/project
This will copy your project to the VM. You can follow the outlined steps to render your project.
Using the NVIDIA RTX A5000 on CUDO Compute will speed up your Blender rendering workflows. By optimizing your VM configuration and following the steps outlined in this guide, you can achieve faster, more efficient renders without the need for expensive hardware investments.
CUDO Compute offers a flexible, scalable, and cost-effective platform, allowing you to focus on your creative vision while offloading the computational heavy lifting to powerful remote resources. Start using the NVIDIA A5000 today from as low as $0.35 per hour.
Check out our docs and resources, try different strategies, and tackle your rendering tasks.
Continue reading
AI hardware installation & maintenance: from GPU racks to memory and storage
16 min read
Key considerations for optimizing power efficiency with sustainable energy sources
21 min read
Building for 70% AI-driven demand: Planning for the coming capacity surge
18 min read
NVIDIA H100 versus H200: how do they compare?
12 min read